Adding shapes can help facilitate the process of building templates, workflows, and procedure-driven diagrams. A variety of basic shapes are available that, when placed, offer additional functionality to assist in curating content.

Adding a Shape
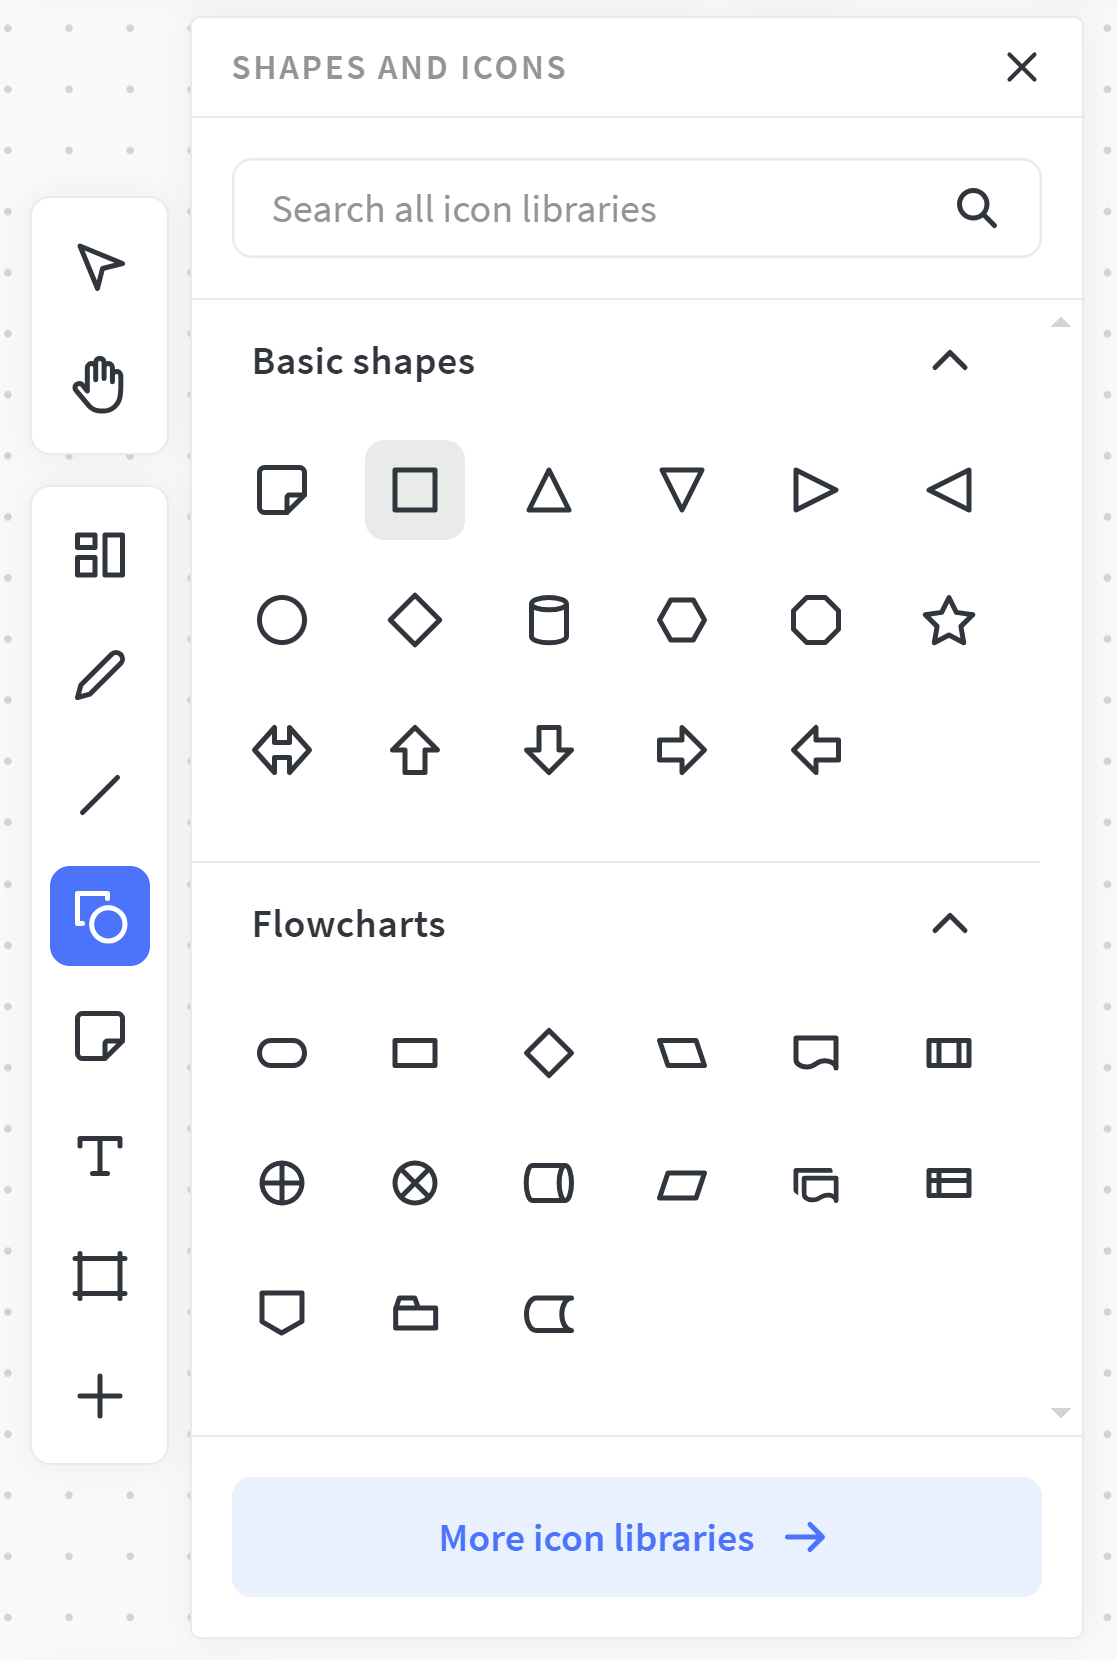
To add a basic shape to a workspace:
-
From the workspace toolbar, select
 (Shapes).
 -
Choose a shape from the Basic shapes and Flowchart menu.
-
Hover your cursor over the workspace area where you want the shape to appear, and a blue preview will appear.
-
Click to place the shape, and the Shape toolbar appears.

The Shapes and Icons panel stays open in your workspace, even once a shape is placed. This enables you to seamlessly add multiple shapes without interrupting your workflow.
BluePro Tip: To quickly add or edit text on an individual shape, double-click or hit enter/return on your keyboard after selecting the shape to enable text editing. The text toolbar appears. Save time by selecting multiple shapes to make bulk formatting changes. Read Adding Text to a Workspace to learn more.
- Select and drag the shape’s anchor points to resize or change the shape’s direction. Holding the Shift key while resizing locks the shape’s aspect ratio. You can also rotate the shape to fit your needs.
Shape Toolbar (Left to Right):
Use the shape’s toolbar to customize the appearance of your shape, pin your shape, add a reaction or comment, and more.
Expand to learn more about all options in the Shape Toolbar.
| Icon | Description |
|---|---|
| Change the shape of a placed object : | |
| Provides several colors to apply to the shape fill, border, and text. You also can select a custom color. | |
| Customize the border of your shape | |
| Font | Changes the font for text in the shape. Note that when you add text to one shape, the same formatting is applied to the next shape(s) you create. |
| Font Size | Select a numeric value that aligns with how large or small the text appears or use the increase/decrease buttons. The default font size is 12 at the recommended 100% zoom level. |
| Select bold, italics, underline, and strikethrough. | |
| Arrange or organize text alignment within the text box. | |
| Add bullets, numbering, or checkboxes. | |
| Highlight text in default yellow or the last selected highlight color. If text is already highlighted with a color, |
|
| Add a hyperlink to the selected text. | |
| Locks the shape to its current workspace location. | |
| Gives you the option to add a reaction. For example, a thumbs up to the object. | |
| Create or view comments associated with the shape. | |
| Access additional shape options. |