Adding a Jira card to a Bluescape workspace
With the Bluescape Jira integration you can import your Jira work items into a Bluescape workspace and prioritize, organize, and track them in an an intuitive and visual interface.
Imported work items are automatically synchronized, so any changes made in Jira are reflected in Bluescape.
To add a Jira card to a workspace:
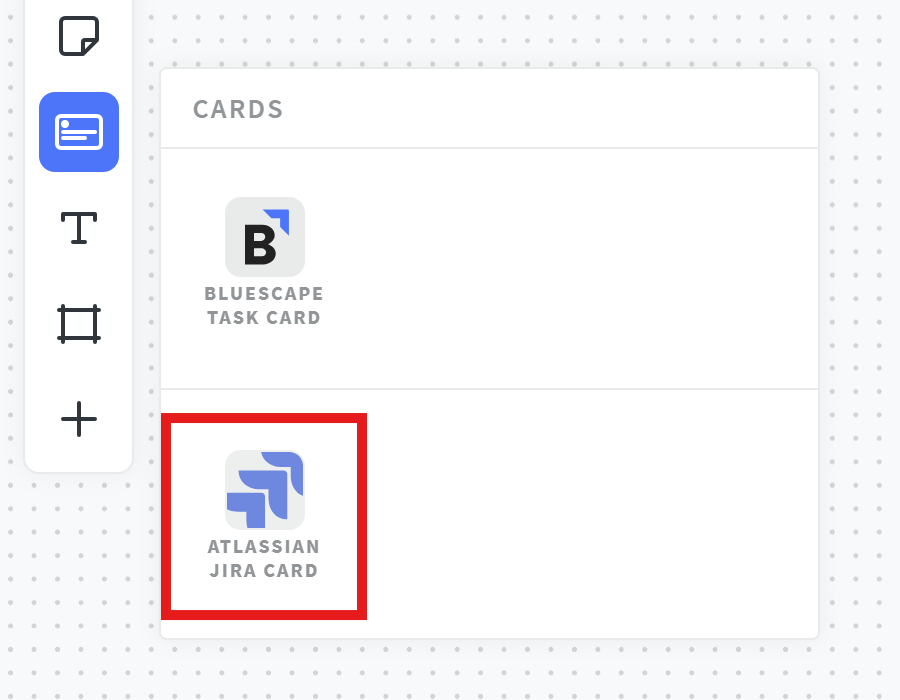
- From the Bluescape workspace, select
 (card) from the toolbar
 - Select Atlassian Jira Card
Note: The first time you use add a Jira card or select a Jira card someone else made, you will be prompted to authenticate to the associated Jira instance. See Authentication steps below.
-
Paste the URL to the work item in the Import from Jira dialogue that appears
(ex:https://bluescape.atlassian.net/browse/FE-1234)
-
Click Create

BlueProTip: You can also paste the URL directly into the workspace to add a Jira card.
- The Jira card is shown in the workspace as a Bluescape task card

Using Jira cards
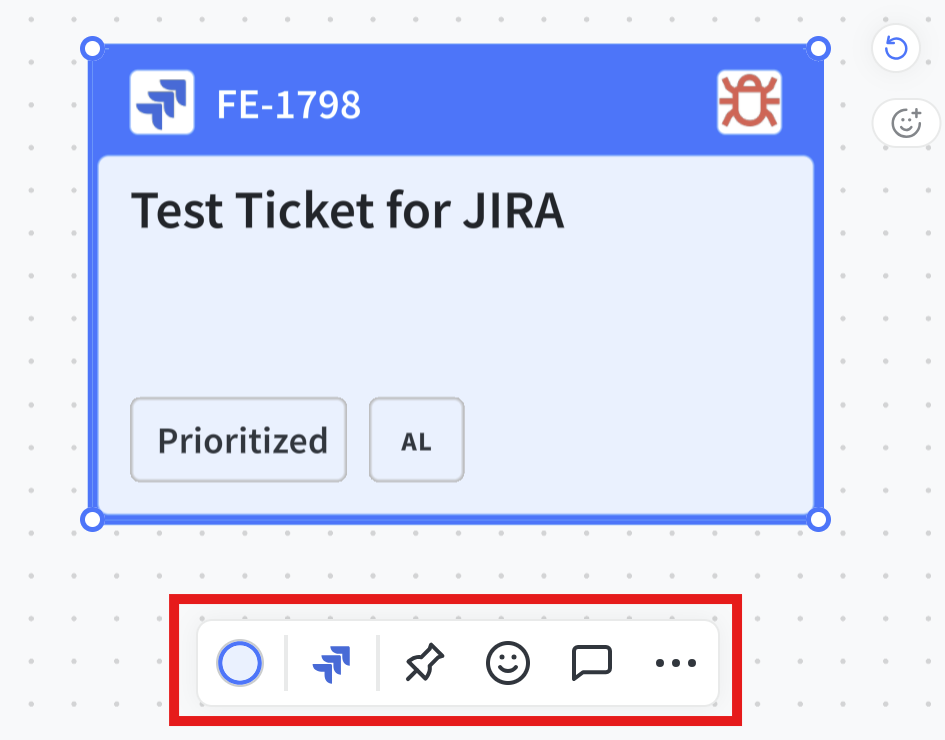
When a Jira card is selected, the control bar appears below the card with several options:
| Icon | Description |
|---|---|
| Change the color of the card. | |
| Open the item in Jira in a new tab. | |
| Pin the card to lock it’s workspace location. | |
| Add a reaction to the card. | |
| Comment on the card. | |
| Display additional functionality available for the card. |
Viewing card details
To view the card details, including the description imported from Jira, double-click on the card or select edit from the ![]() (more options) menu on the control bar.
(more options) menu on the control bar.
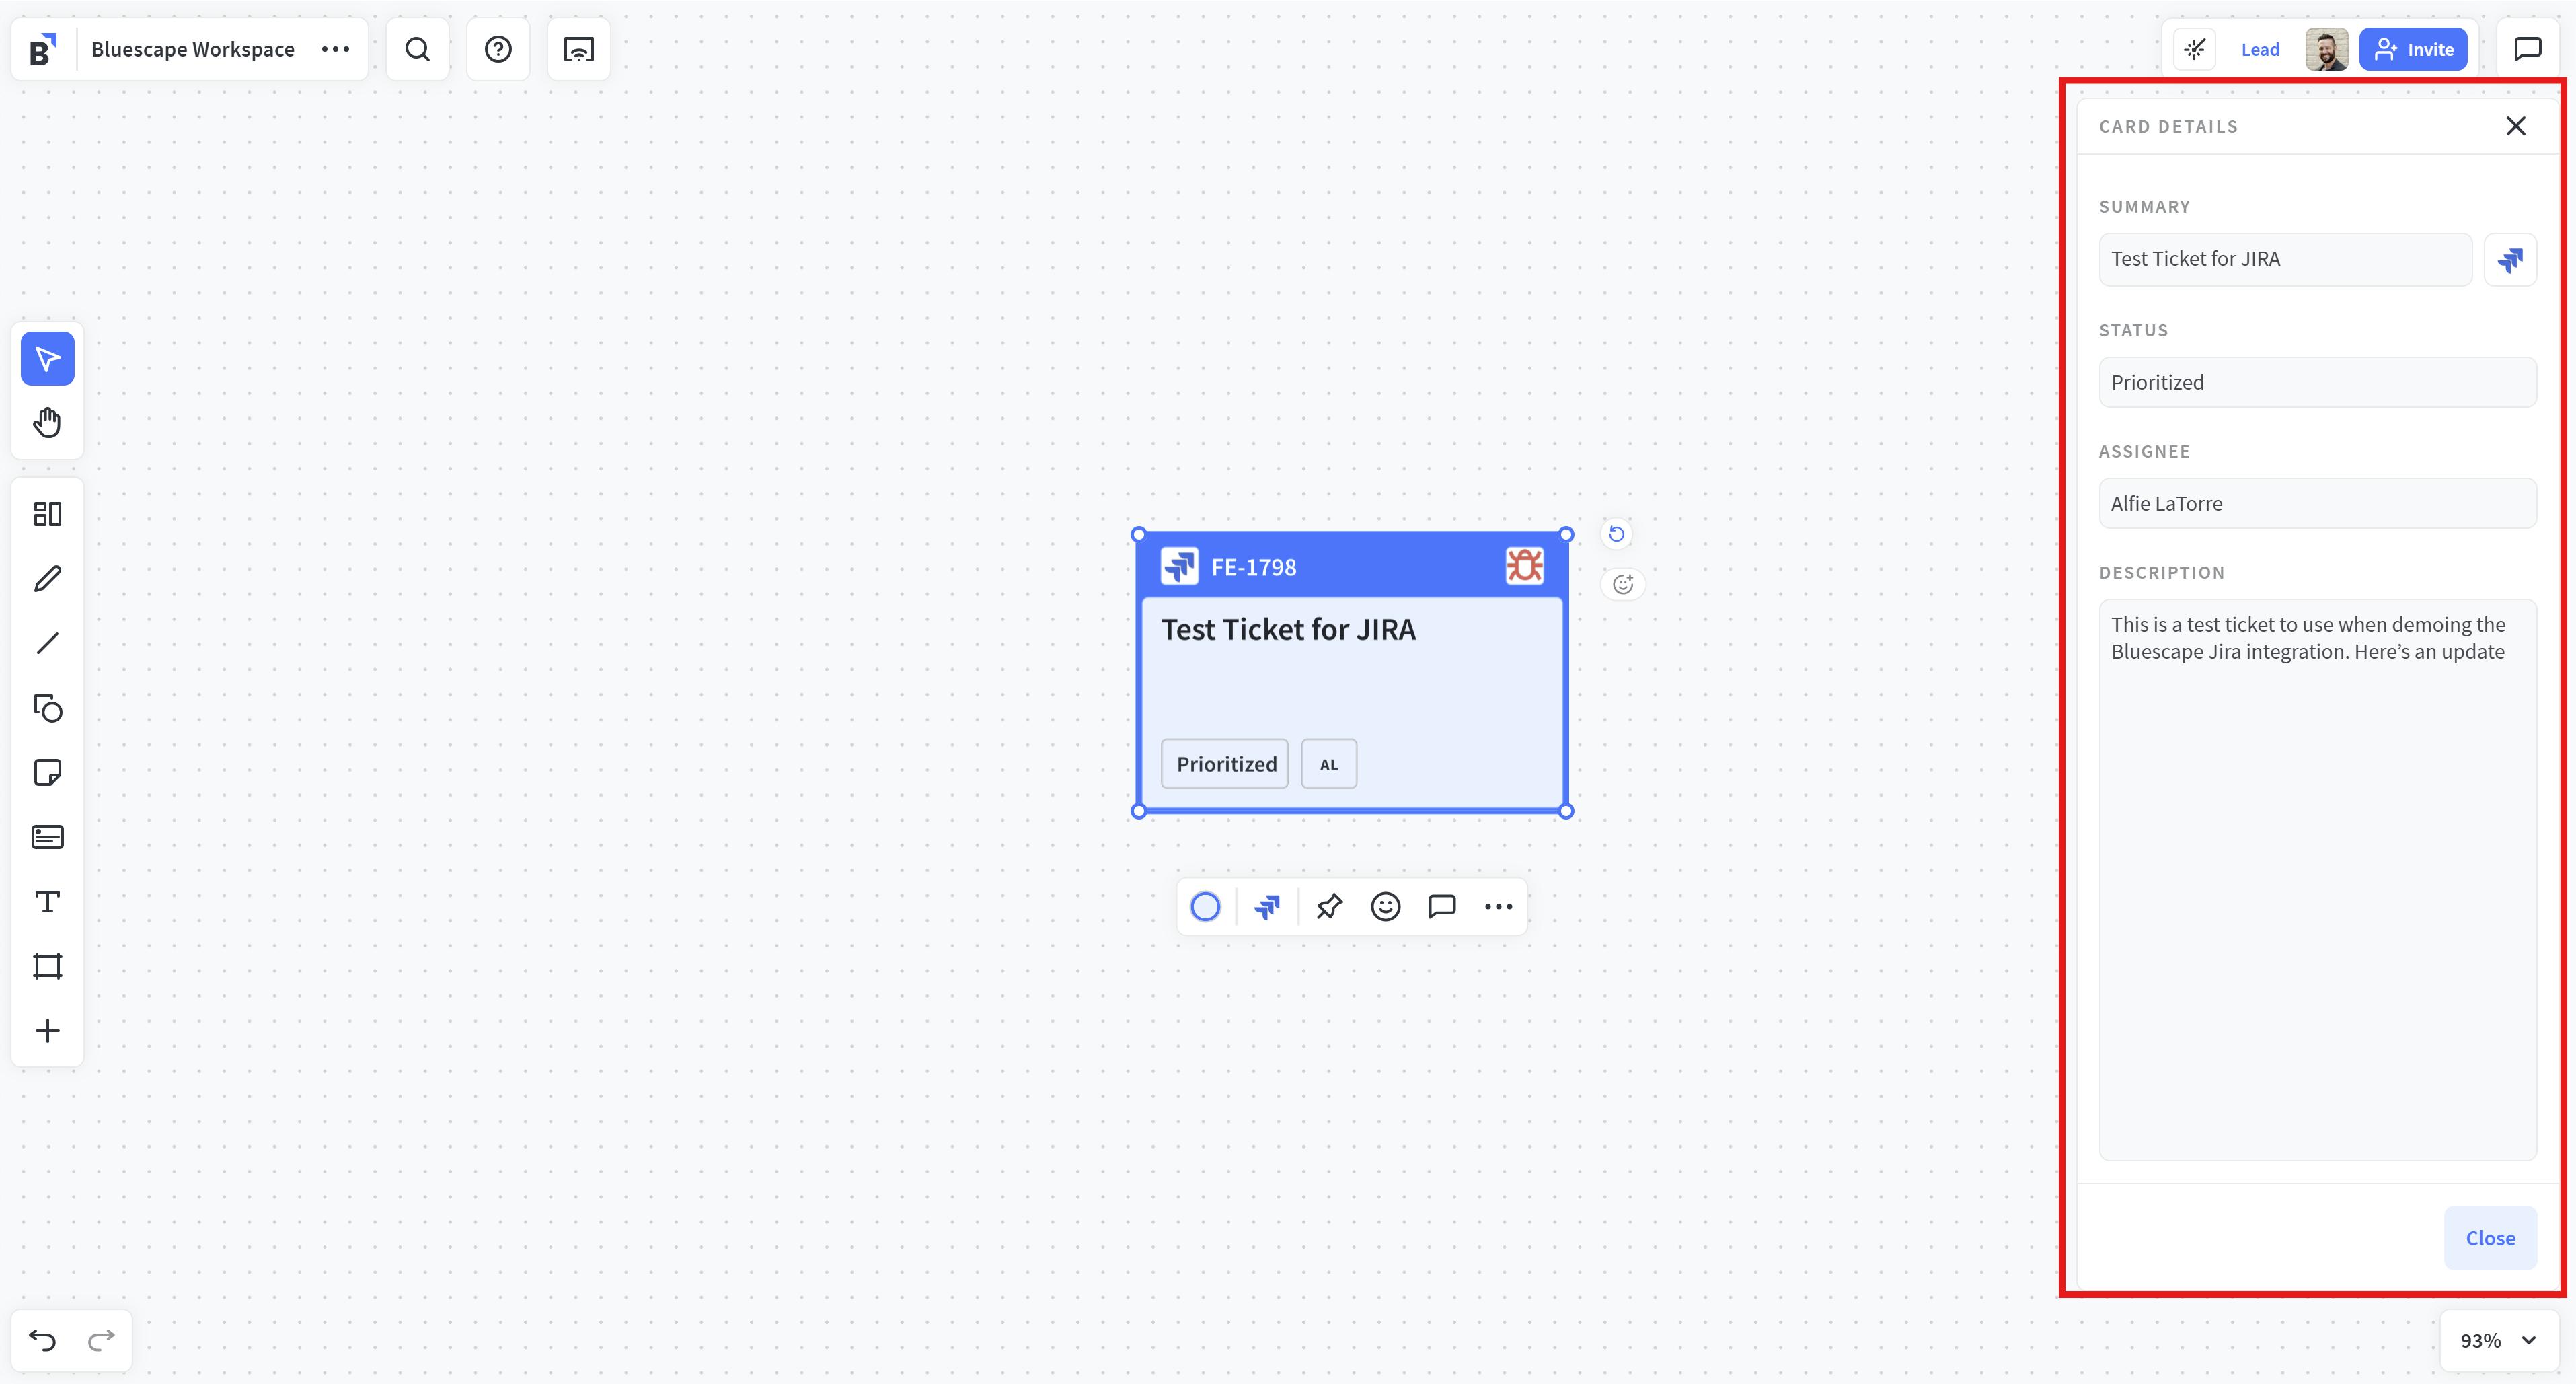
Note: Jira cards cannot be edited from the Bluescape workspace, but any changes made in Jira are immediately reflected in the Jira card.
Authenticating and Authorizing the Jira application
The first time you use add a Jira card or select a Jira card someone else made, you will be prompted to authenticate to the associated Jira instance and authorize the Jira integration.
-
Choose an account to authenticate with. Click Continue
-
Authorize the Jira integration. Click Accept


You will now be able to add and view Jira cards associated from the Jira instance that you authenticated to.
Note: You can unlink a Jira instance you have authenticated to from the Profile page.